
Civil Engineering Guide for Businesses: Permitting to Flood Mitigation
Launching a new project in Florida means dealing with flood zones, strict regulations, and extensive permitting hurdles. The sheer volume of local ordinances and flood mitigation requirements can quickly overwhelm even experienced business owners. Knowing that the ASCE/SEI 24-24 standard sets the minimum compliance measures for flood-resistant structures, aligning your plans with FEMA and municipal demands becomes vital. This resource guides you through every step, turning complex civil engineering mandates into clear actions for protecting your investment.
Table of Contents
- Step 1: Assess Project Requirements And Compliance Needs
- Step 2: Develop Detailed Site And Utility Plans
- Step 3: Obtain Permits And Expedite Approvals
- Step 4: Implement Drainage And Grading Solutions
- Step 5: Verify Flood Mitigation And Issue Certificates
Quick Summary
| Key Point | Explanation |
|---|---|
| 1. Assess project compliance needs | Begin with a thorough evaluation of project scope, location, and local regulations to avoid costly delays. |
| 2. Develop detailed site plans | Create accurate site and utility plans that comply with local codes and incorporate hydrologic modeling. |
| 3. Submit complete permit applications | Ensure all documentation is included to prevent rejections and lengthy resubmission delays. |
| 4. Implement drainage solutions carefully | Precision in grading and installing drainage systems is crucial to effective water management. |
| 5. Verify flood safety through certifications | Thorough inspections and obtaining necessary certificates ensure compliance and protect property value. |
Step 1: Assess Project Requirements and Compliance Needs
Your first task is understanding what your specific project demands before you touch a single permit form. Different property types, flood zones, and local ordinances create wildly different compliance pathways. Skipping this assessment means you could spend months on unnecessary documentation or miss critical requirements entirely.
Start by identifying your project scope and location. Are you building a new commercial structure, renovating an existing residential property, or developing a multi-phase site? The complexity grows with each answer. Your property’s location within Florida’s flood zones determines whether you need elevation certificates, no-rise certifications, or both. You can find your flood zone designation through FEMA’s flood maps or your local floodplain administrator. This single piece of information shapes almost every other decision moving forward.
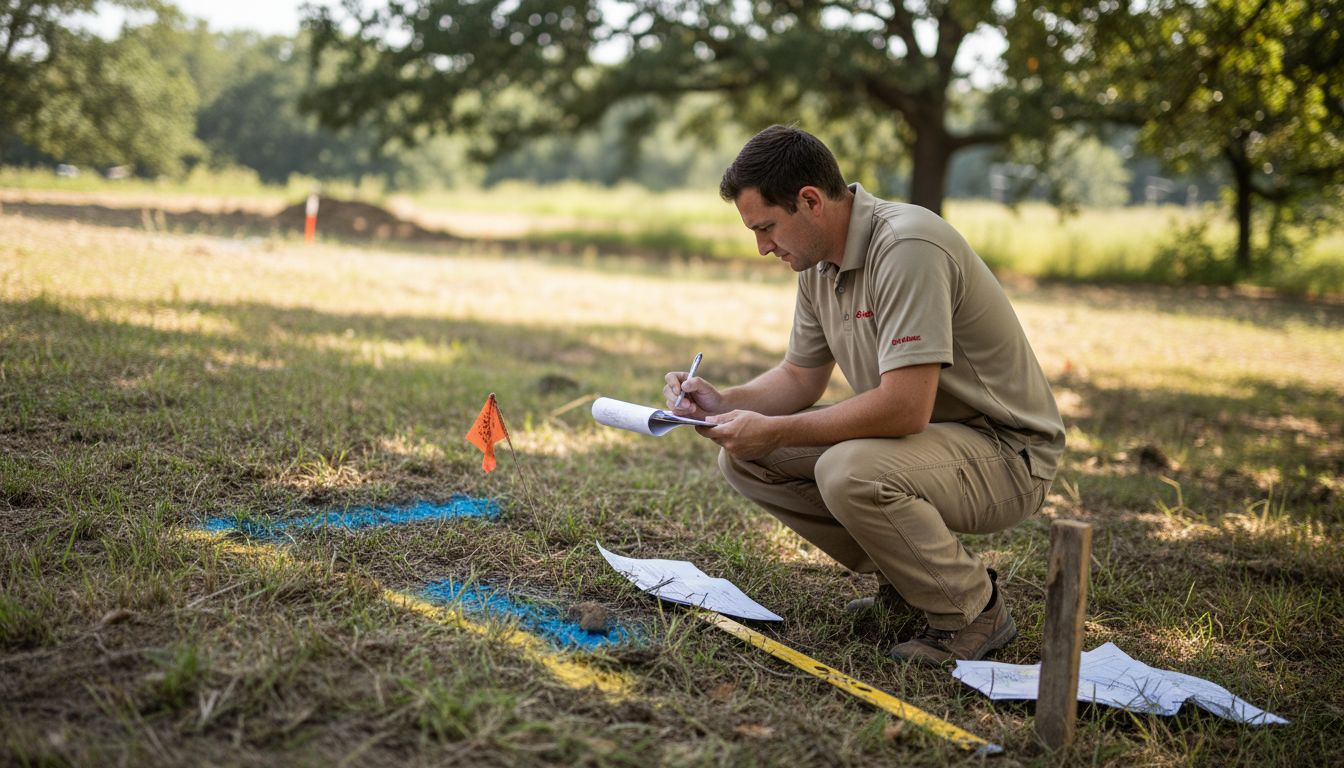
Next, gather your site conditions and constraints. Walk the property and document existing drainage patterns, wetland areas, utility locations, and nearby water bodies. Photograph everything from multiple angles. This visual record prevents surprises later during the design phase. Understanding your site’s current topography and drainage behavior helps your civil engineer design appropriate solutions from the start.
Review the ASCE flood-resistant building standards that establish minimum design requirements for high-risk flood areas. These standards align with FEMA and the National Flood Insurance Program, meaning your designs must meet or exceed them. Florida’s strict adherence to these benchmarks means you cannot cut corners on flood design or elevation requirements.
Identify all applicable local codes and regulations. Contact your municipal building department and ask for their specific requirements regarding flood mitigation, drainage, stormwater management, and site planning. Each jurisdiction interprets state rules differently. What works in one county might not fly in another. Getting this information early prevents costly redesigns down the line.
Connect with a civil engineer who understands Florida’s unique challenges. They’ll review engineering project workflows and Florida compliance requirements to ensure your project meets all standards. An experienced engineer catches gaps you won’t see and translates complex regulations into actionable design parameters.
Pro tip: Create a compliance checklist tailored to your specific project and jurisdiction before you hire consultants. Include flood zone designation, required certifications, stormwater calculations, and local variance needs. This document becomes your project bible and prevents miscommunication with your design team.
Here is a summary of critical documents required at each project stage:
| Stage | Key Document | Purpose | Authority Involved |
|---|---|---|---|
| Initial Assessment | Flood Zone Designation | Determines compliance pathway | FEMA/Local Officials |
| Design Phase | Site & Utility Plans | Maps technical details for project | Civil Engineer |
| Permitting | Grading, Stormwater Calculations | Proves regulatory compliance | Municipal Dept./Reviewers |
| Construction Verification | Inspection Reports | Confirms proper installation | Engineer/Inspector |
| Final Certification | Elevation/No-Rise Certificates | Verifies flood safety & insurance | Licensed Surveyor/Engineer |
Step 2: Develop Detailed Site and Utility Plans
With your compliance requirements mapped out, you now build the technical blueprint that makes your project real. Detailed site and utility plans translate your vision into actionable designs that satisfy regulators, contractors, and Mother Nature. These documents become your project’s foundation for every decision that follows.
Start by mapping your entire site comprehensively. Document existing conditions including topography, vegetation, utility locations, wetlands, water bodies, and easements. Use surveyed data whenever possible rather than estimates. Your survey establishes the baseline against which all design decisions get measured. Mark proposed structures, parking areas, roads, and drainage features on this base map. This visual representation helps everyone on your team understand the overall layout before engineering specifics get layered in.
Next, develop your utility plans carefully. These include water supply lines, sanitary sewer connections, stormwater drainage systems, electrical service, natural gas, and communications infrastructure. Each utility follows different design standards and routing restrictions. Underground utilities cannot overlap, and surface utilities need clear separation from structures and parking. Your engineer coordinates these elements to avoid conflicts that cause expensive redesigns during construction.
Integrate hydrologic modeling and stormwater design considerations into your site plan. This means calculating how much water falls on your property during storm events and where that water flows. Drainage systems must handle the 25-year storm event at minimum in most Florida jurisdictions. Your grading must direct water to appropriate outfalls while preventing ponding in occupied areas. Improper stormwater management creates liability and regulatory violations.
Create a grading plan showing finished elevations across your entire property. In flood-prone zones, this becomes critical. Your building elevations must meet or exceed the base flood elevation plus freeboard requirements. The grading plan also ensures proper drainage away from structures and prevents water from accumulating in parking lots or landscaping areas. Think of your grading plan as the skeleton that supports everything else.
Address environmental considerations alongside engineering requirements. Identify any protected wetlands, native vegetation, or sensitive habitats. Your design must minimize impacts to these areas. Many Florida projects require environmental permits separate from building permits. Coordinating your site plan with environmental constraints early prevents major redesigns later.
Pro tip: Use computer aided design software that allows you to overlay utility lines, drainage paths, and grading elevations on your site plan simultaneously. This reveals conflicts before contractors show up on site, saving you thousands in change orders and schedule delays.
Step 3: Obtain Permits and Expedite Approvals
Now your engineered plans go through the official approval process. Obtaining permits feels bureaucratic, but understanding the system helps you move through it efficiently. The right strategy here can cut weeks off your timeline and prevent costly rejections that send you back to the drawing board.
Submit complete applications to your municipal building department. Incomplete applications get rejected immediately, forcing you to resubmit and restart the review clock. Include all required documents: site plans, utility plans, grading plans, flood elevation certificates, stormwater calculations, and any environmental permits. Double check the submission requirements with your building department before you hit submit. Different jurisdictions have different expectations about file formats, sheet sizes, and documentation packages.
Understand your local flood risk assessment process. Your municipality reviews projects in flood zones for compliance with FEMA standards and the National Flood Insurance Program. You must provide accurate flood data and elevation information to satisfy these requirements. Your engineer handles the technical calculations, but you coordinate the submission. This step typically takes 15 to 30 days for initial review.
Respond quickly to plan review comments. Building departments identify conflicts, missing information, or code violations during their review. They issue a list of corrections needed before approval. Address every single item on that list thoroughly. Vague or incomplete responses restart the review timeline. This back and forth cycle can drag on for months if you treat it casually. Budget two to four weeks for each round of revisions.
Leverage FEMA resources to accelerate approvals. FEMA’s flood risk reduction technical guidance outlines documentation requirements that satisfy both local and federal reviewers. Using this standard reduces confusion about what constitutes acceptable proof of compliance. If your project seeks mitigation funding, early alignment with these requirements makes the funding application process much smoother.
Consider hiring a permitting expediter. Professional expediters maintain relationships with building departments and understand local review preferences. They translate engineer speak into what reviewers actually want to see. This costs money upfront but often saves money by preventing multiple resubmittals and schedule delays.
Pro tip: Attend a pre-application conference with the building department before submitting anything. These free meetings let you ask questions about requirements and get informal feedback on your approach. Building officials appreciate this proactive engagement and often give hints about potential problem areas you can address before formal review.
Step 4: Implement Drainage and Grading Solutions
Your permits are approved. Construction begins. Now your drainage and grading designs become physical reality on the ground. This step separates projects that function well from those that fail during the first heavy rain. Proper implementation requires constant attention to detail and coordination between your engineer and contractor.
Start with site preparation and rough grading. Remove vegetation and topsoil in designated areas. Establish the baseline grades shown on your approved grading plan. This means cutting down high spots and filling low spots to match the engineer’s elevation requirements. Use surveying equipment to verify elevations throughout the process. Small deviations compound across large properties and create drainage problems later.
Install your primary drainage infrastructure next. This includes storm drain pipes, retention ponds, swales, and outfall structures. Each piece must connect properly to the next. Pipes must slope continuously toward outlets. Retention ponds must have proper outlet structures and emergency spillways. Nature-based solutions like bioswales require specific soil composition and vegetation. Structural and nature-based approaches to flood mitigation both have distinct installation requirements that your contractor must follow precisely.
Perform secondary grading around structures. Ground elevation around building foundations must slope away to prevent water from collecting near the structure. Parking lots require proper crown and slope toward drainage inlets. Landscaping areas need grading that directs water toward appropriate drainage features rather than toward buildings. These details seem minor but cause major problems when overlooked.
Inspect all drainage work before permanent features get installed. Catch basins should have no debris. Pipes should be clear and properly sloped. Retention areas should hold water without leaking uncontrollably. Your engineer should conduct these inspections and document everything in writing. This creates a record of proper construction if problems arise later.
Verify final grades after all construction. Survey the finished site and compare actual elevations to approved plans. Document any variances and understand their impact on drainage performance. Building elevations must be verified against base flood elevations to confirm compliance.
Pro tip: Hire an independent inspector to verify drainage work during construction rather than relying solely on the contractor’s self certification. This costs a few hundred dollars but prevents expensive retrofits if drainage systems don’t function as designed.
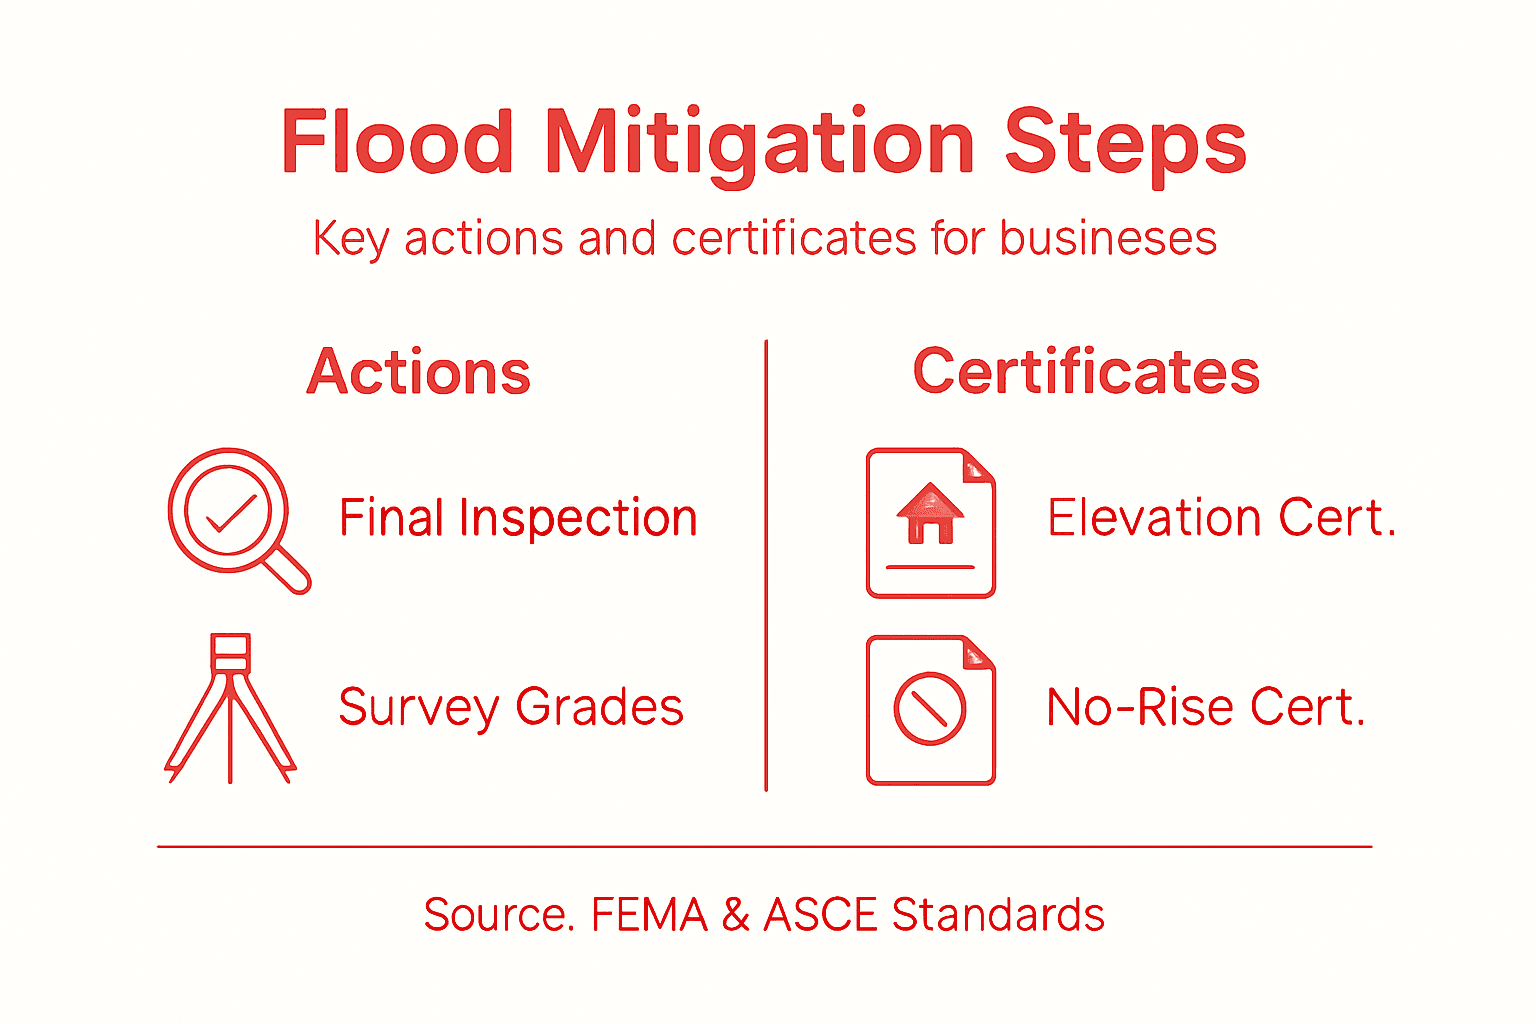
Step 5: Verify Flood Mitigation and Issue Certificates
Construction is complete. Your drainage systems are installed. Your buildings are elevated. Now comes the critical verification step that proves to insurers and regulators that your project meets flood safety standards. This documentation protects your property value and ensures compliance with the National Flood Insurance Program.
Schedule a final inspection with your engineer. They verify that all constructed elements match the approved plans and meet design specifications. Your engineer checks building elevations against the base flood elevation to confirm proper freeboard. They inspect drainage systems for proper function and verify that grading directs water appropriately. This inspection creates the official record of compliance that you need for certification.
Prepare elevation certificates for buildings in flood zones. These documents certify the elevation of your structure’s lowest occupied floor relative to the base flood elevation. An elevation certificate directly reduces flood insurance premiums by proving your building exceeds minimum requirements. The document requires surveys by licensed professionals and must follow FEMA’s standardized format. Florida requires elevation certificates before occupancy permits issue for structures in high-risk flood areas.
This table compares key flood mitigation certificates and their main benefits:
| Certificate Type | What It Proves | Project/Insurance Impact | Who Issues It |
|---|---|---|---|
| Elevation Certificate | Building elevation above flood base | Lowers insurance premiums | Licensed Surveyor |
| No-Rise Certification | No increased flood risk | Ensures regulatory approval | Engineer |
| Letter of Map Change | Official update to flood map | Confirms boundary adjustments | FEMA |
Obtain no-rise certifications if your project modifies floodplain areas. These certificates demonstrate that your modifications do not increase flood elevations for neighboring properties. Proper verification ensures compliance with National Flood Insurance Program standards and community floodplain management practices. A no-rise certificate requires hydrologic modeling and engineer analysis of stormwater impacts. Many Florida municipalities require these before final approval.
File Letters of Map Change with FEMA if your project affects mapped flood zones. If you fill in floodplain areas or construct structures that change flood boundaries, FEMA needs updated information. Your engineer submits the technical data supporting your project’s modifications. FEMA reviews and either approves or requests additional information. This process takes 6 to 12 months but provides definitive proof that your property meets current flood mapping standards.
Obtain your Certificate of Occupancy after all verifications complete. This document proves your project received final inspections and passed all code requirements. Without it, you cannot occupy or insure your structure. Keep all flood mitigation certificates with your property records permanently. You will need them for insurance renewals, future sales, and regulatory inquiries.
Pro tip: Request copies of all flood-related certifications and inspections directly from your engineer and keep them in a dedicated file separate from your project paperwork. Digital copies should be backed up to cloud storage, as these documents prove compliance decades after construction.
Ensure Your Project’s Success with Expert Civil Engineering Support
Navigating the complex world of permitting, flood mitigation, and detailed site planning can overwhelm any business owner or developer. This article highlights critical challenges such as meeting Florida’s strict flood elevation requirements, managing stormwater calculations, and securing essential documents like no-rise and elevation certificates. Without expert guidance, you risk costly delays, regulatory rejections, or insurance issues that can threaten your project’s timeline and safety.

Don’t let regulatory hurdles and technical complexities stall your project. At Florida Licensed Engineers, we specialize in comprehensive civil engineering services tailored to your needs, including drainage and grading solutions, flood mitigation analysis, and permitting expediter support. Our team helps you prepare precise site and utility plans and obtain all necessary flood-related certifications to protect your investment. Learn how our meticulous Engineering and Inspection Archives resources can empower your project from initial assessment through final certification. Take control today with trusted expertise on your side. Visit us now at https://floridalicensedengineers.com to get started.
Frequently Asked Questions
What are the first steps in assessing project requirements for flood mitigation?
Start by identifying the project scope and location, including whether it involves new construction or renovation. Gather site conditions, including drainage patterns and existing utilities, to create a compliance checklist tailored to your specific project.
How can I ensure my stormwater management plan meets local regulations?
Develop a comprehensive site and utility plan that incorporates hydrologic modeling to calculate stormwater flow. Verify that your design complies with local drainage and flood elevation requirements to prevent costly rejections.
What types of permits are typically required for flood-prone construction projects?
Permits commonly needed include elevation certificates, grading plans, and stormwater management permits. Submit a complete application that includes all required documentation to your municipal building department to avoid delays.
How do I verify that my completed project complies with flood safety standards?
Schedule a final inspection with your engineer to confirm that all constructed elements match approved plans and meet design specifications. Obtain necessary certificates like the Elevation Certificate, which can lower flood insurance premiums significantly.
What should I do if I encounter issues during the permitting process?
Respond promptly to any plan review comments or requested corrections from the building department. Address every item thoroughly to avoid restarting the review clock, which can delay your project by weeks or even months.
Recommended
- 7 Essential Civil Engineering Tips for 2025 Success – Florida Licensed Engineers
- 7 Essential Civil Engineering Tips for 2025 Success – FloridaLicensedEngineers.com
- 7 Essential Civil Engineering Examples for Property Owners – Florida Licensed Engineers
- 7 Essential Civil Engineering Examples for Property Owners – FloridaLicensedEngineers.com
- Step by step ISO 27017: guida pratica per aziende cloud – Security Hub
